Sure, you’re itching to get outside after a cold and snowy winter. But before you put on the shorts and go all barbecue tribal, remember that spring means there are plenty of regular maintenance jobs inside your house after months of being shut in with dust and dirt.
Spring Clean Your Life
Sure, getting rid of dirt makes for a clean house. It also makes for a healthy house. With a good spring cleaning, you’re ridding your rooms of dust mites, allergens and germs that can cause respiratory ailments and other problems. Target these dust traps:
• Horizontal surfaces, including the tops of door and window frames, artwork, ceiling fan blades, light fixtures, books sitting on shelves and cabinet tops.
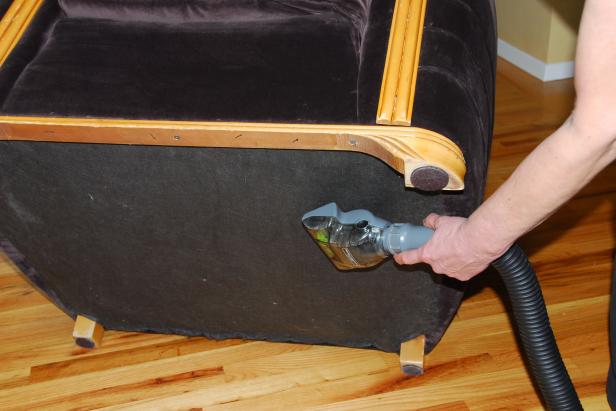
• Furniture undersides have a fabric cover called the cambric. It keeps dust out, but also tends to be a dust and pet hair magnet. Gently turn over chairs and sofas and vacuum the cambric with an upholstery attachment.
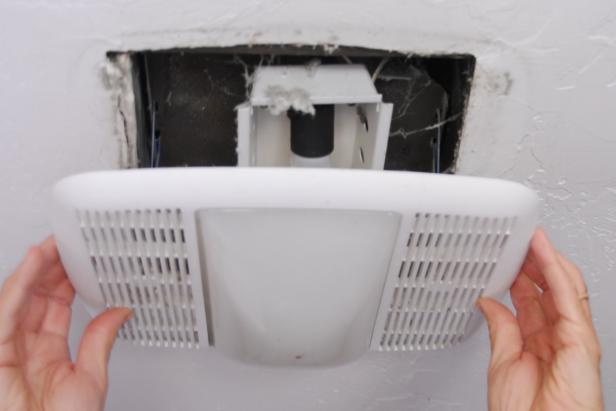
• Clean bathroom exhaust fans by gently removing the vent cover. Wash the cover and let it dry thoroughly before replacing. Vacuum out any dust that’s accumulated inside the vent housing.
• Vacuum behind the refrigerator — trust us, it’s dirty back there. Too many dust bunnies restrict air flow and can reduce the efficiency of your fridge. Protect floors from scratches with a cheap, remnant piece of laminate you can get from a countertop shop. It’s thin enough to go under wheels and nylon feet, and it won’t bunch up like cardboard.
• Don’t forget to clean the inside corners of closets (those out-of-sight, out-of-mind dust traps).
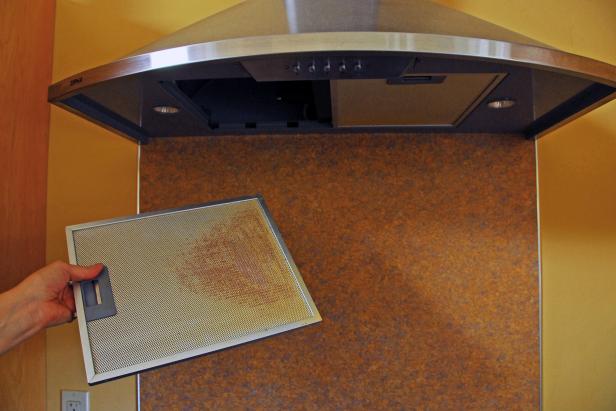
• Remove range hood filters and give them a good cleaning. Bring out your biggest pot, fill it with water and set it to boil. When bubbling, slowly add 1/2 cup of baking soda. Submerse the filters and let them perk for at least 10 minutes. Chances are the filters won’t fit all the way in, so end-for-end them to finish the job.
Take filters out of the pot and rinse with hot water. Gently scrub with a nylon brush, rinse, and let dry before replacing.
Spring Cleaning Checklist
Replace HVAC Filters
This is a three- or four-time per year job, and a spring clean is the ideal reminder to do it once again. Dirty filters strain your HVAC system, which in turn puts a strain on your wallet.
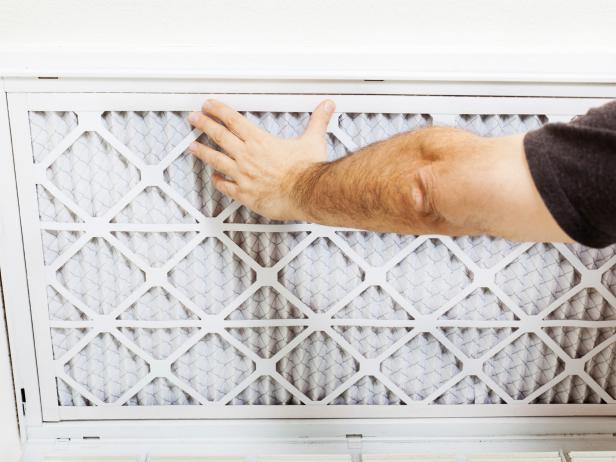
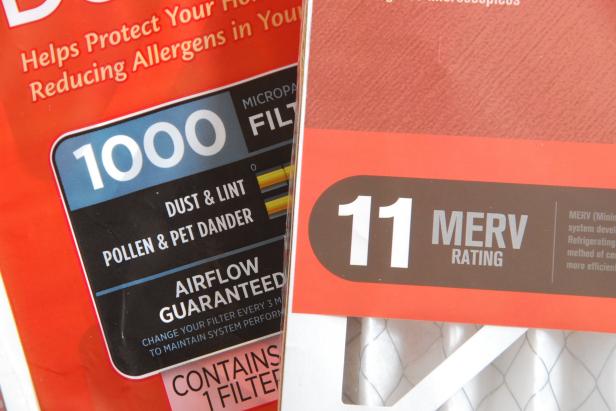
Filters are rated to according to how effective they are at removing mold, dust, pollen and pet dander. They higher the rating, the better. Pollen-and-dust microparticle ratings range from 600 to 2400. (You may see a different type of rating — minimum efficiency rating value (MERV) goes from 5 to 12. Higher numbers are more efficient.)
The cheapest filters cost about $3. Pleated filters with 1250 microparticle ratings cost about $15, filters rated higher than 2000 are $20 to $25.
Goober alert: Know the exact size of replacement filters before you truck off to the hardware store.
De-Gunk Faucet Aerators and Showerheads
Unscrew the faucet aerators, sink sprayers and showerheads and give them a bath in a warm, mild solution of vinegar and water mixed 50:50.
Remove stubborn aerators with a pair of pliers, but first protect the fixture from scratches with a couple of turns of masking tape. Aerators can have several little parts — be sure to note how to reassemble them.
Let them soak for an hour, then rinse with warm water.
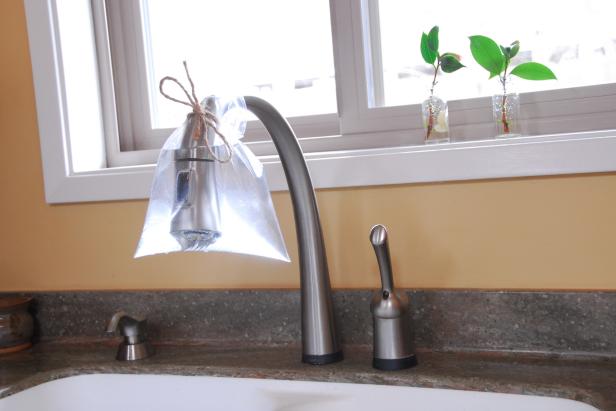
You don’t have to take apart showerheads and sprayers to get good results, however. Fill a plastic bag with solution and tie it around large faucets and showerheads to give them a good soaking.
Limber Up the Laundry
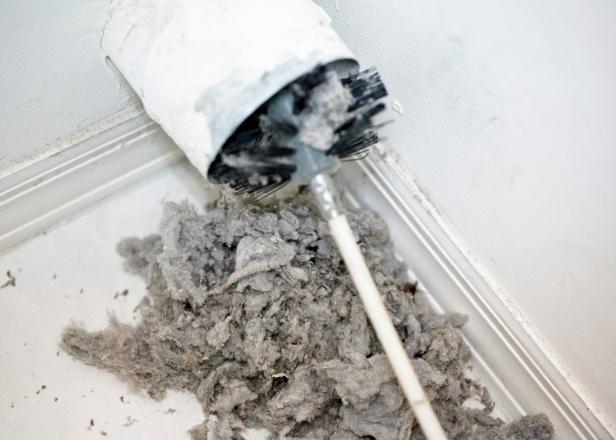
The National Fire Protection Association says dryers are involved in more than 15,000 residential fires every year. The usual suspect? Dryer vents plugged with lint.
To clean your dryer vent, disconnect the vent from the back of the machine and use a dryer vent brush ($20) to remove lint. Outside your house, remove the dryer vent cover and use the brush to remove lint from the other end of the vent line. Make sure the vent cover flap moves freely.
jodi jacobson
For safety, use solid metal vent pipe for your dryer — not the flexible, foil-covered type. Solid vent pipe doesn’t collect lint as readily and it’s easier to clean, too.
On the washer side, inspect washer hoses for signs of cracks or leaks. Replace plastic hoses with braided metal water supply hoses.
Safety First
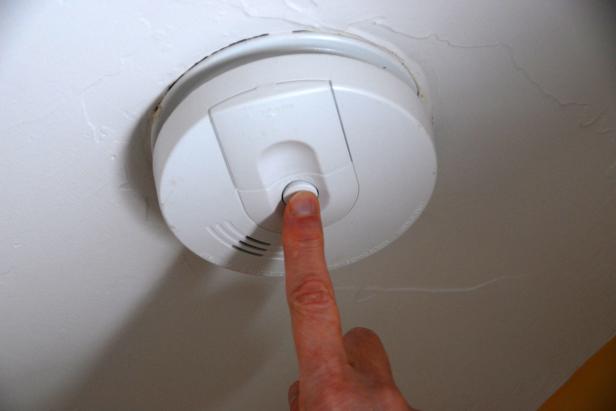
If we’ve said it once we’ve said it, well, lots of times. Test smoke alarms and CO detectors, and change out batteries as needed. It’ll cost you a few bucks; it’ll take you a few minutes. It might save your life. Sounds like good ROI to us!
